DIANA LI
Engineering, Design, Medical Devices & DIY
LIGHT IT UP!
This project expresses form through using planar elements and the effects of light and shadow. I wanted to execute a simple yet unique design. The following moodboards in the following section helped stimulate my ideas, and this page shows my process on achieving my final design.


Moodboards
The left moodboard illustrates sources of inspiration while the right moodboard shows sources of construction inspiration.


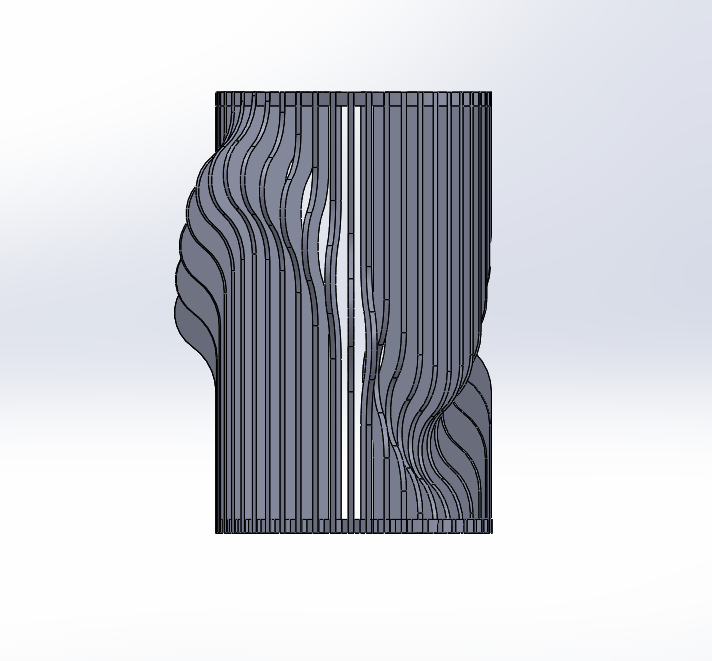
In order to secure the lamp together and ensure simple assembly, I thought it would be most practical to cut out slots from the top and bottom enclosures to fit the arms in. Since the arm patterns repeat every eighth of the perimeter, I chose to experiment with three different designs shown below from CAD for a less rigid look. I ended up choosing Design 3 because it looks like a different design from different angles and also looks flowing without a rigid structure. I had the worry that it may look overwhelming after executing the design, so I used white foamcore for less visual distractions.

Design 1

Design 1

Top enclosure

Design 2
Design 2

Lamp arms

Design 3

Design 3
Finalizing Design and Fabrication
The only materials used were cord, lightbulb, and foamcore. The fabrication process went smoothly in general. However, assembly took a lot long than expected since there were 48 arm pieces. Further, the top and bottom enclosure parts had to be handled diligently since so many slots were cut into it.
 |  |  |
|---|---|---|
 |  |
Final Design
If I were to improve on this design, I would incorporate less arms so the top and bottom enclosures would not break as easily, resulting in a cleaner appearance. Initially, I was worried the design would turn out to look confusing since it appeared complicated in the CAD model. However, I am extremely happy with the result!

Night view

Night view

Close-up

Light view

Light view